
Happy Monday All!!
I can’t believe today was my technique lover’s challenge post for the year – it has gone by so fast!
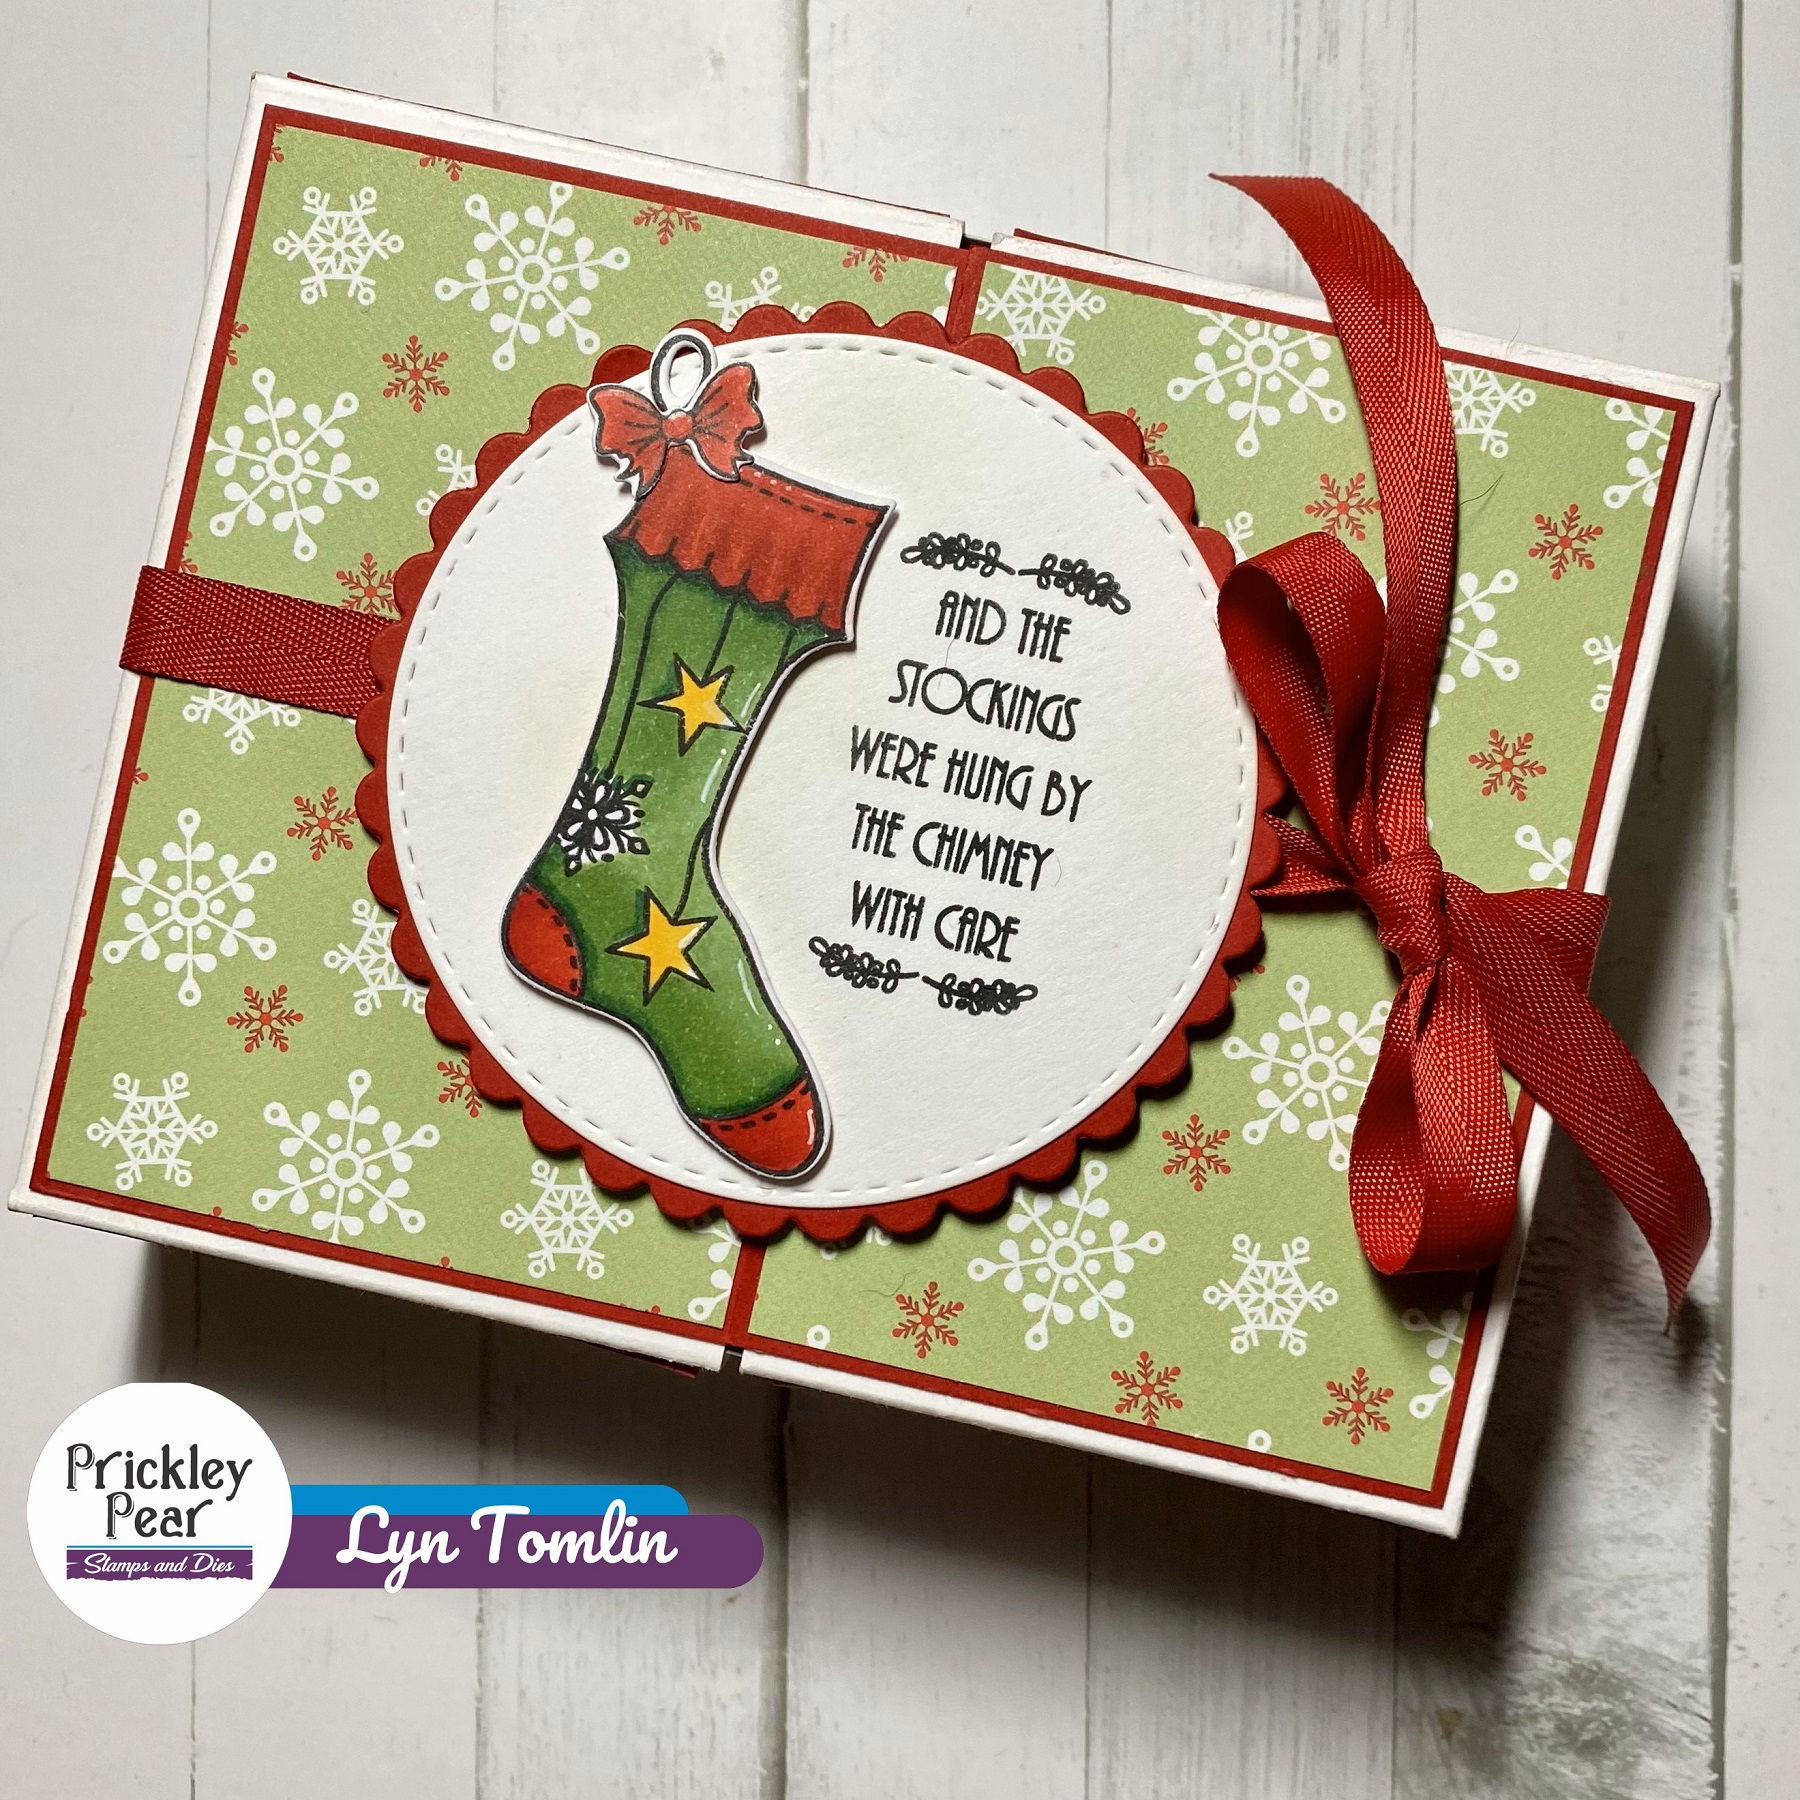
As I often do this time of year, I am finding myself needing some fun wrapping for a couple of gift cards. I decided to look for inspiration in the Splitcoast Stampers Tutorial section. It has been a while since I looked through the tutorials and there is so much there! Well…I found a tutorial for a fold-out Split Top Box that looked so adorable that I decided I really needed to try it. It has several steps but it is really easy to do and you can decorate as much or little as you want.
Here is my box: I used some Paper Trey Ink Designer paper from deep in my stash to decorate my box and Stocking Set 2 and Stocking Dies from Prickley Pear Stamps
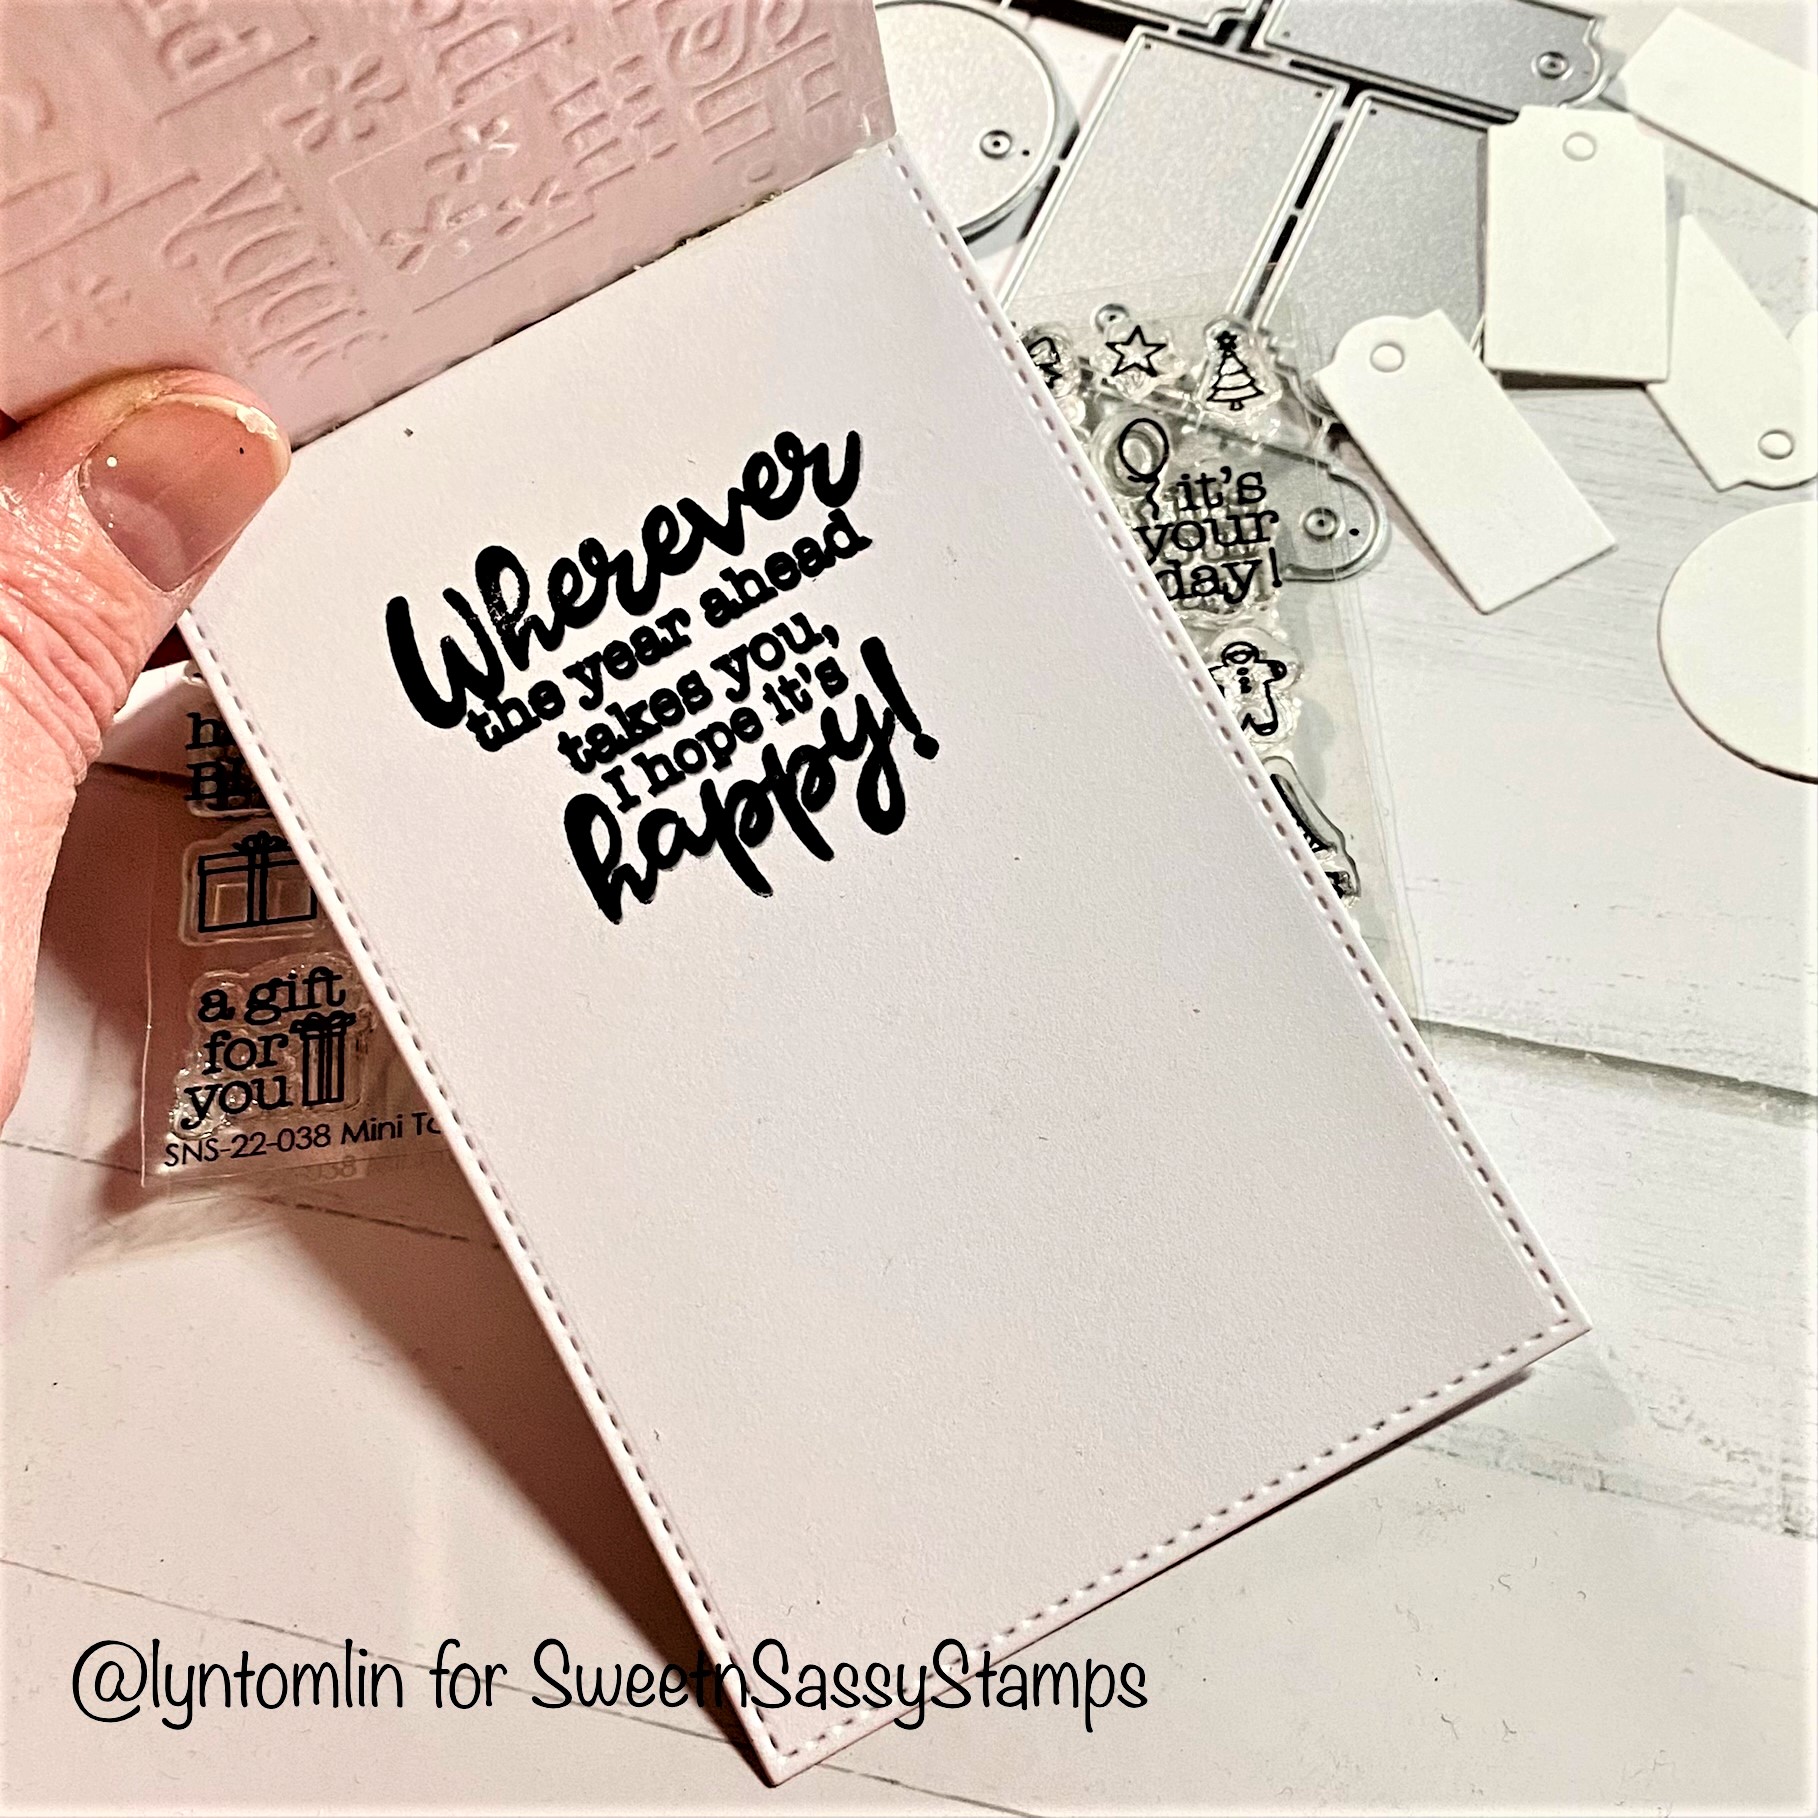
Here is the inside:

I hope you are inspired and if you are and you want to join the challenge, come on over!!!
Hugs,
Lyn


